Hull and Superstructure
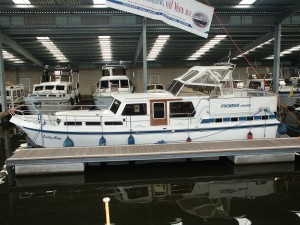
Tempus Fugit is a Dutch steel, 13.15 Pikmeer Kruiser, built in 1992. Except for wooden cabin doors, all of the hull and superstructure is made of steel. Below we summarize what we have done to maintain the hull and superstructure so far and what we need to learn so as to be able to do a better job (click on pictures and use the magnifier to get a closer view).
Maintenance 2006-’10
When we bought her in 2006 in Terherne, Northern Holland, she was on the water but protected in a shed. The paint work above the water line was in good condition and it seems likely that she had been repainted not so long before. From cans found in the foredeck locker we know a very good quality paint had been used: Sikkens Rubbol XD Gloss, White.
Before bringing the boat down to Amsterdam, we had the underwater hull re-painted by the Terherne yard (we do not know what antifouling they used) and the anodes were replaced.
After over-wintering aboard her, moored in the water at Kudelstaart from December to April, and then traveling across Holland and Belgium and down through France to Saint Jean de Losne in the second quarter of 2007, we had some repairs done by Blanquart’s yard. We needed to deal with dents and scrapes, acquired primarily in the locks en route, and a few places where rust was emerging, notably around a couple of waste water discharge outlets, the engine cooling water discharge channels, and the struts under the stern swim platform.
Almost all of the hull above the waterline was repainted by one of Blanquart’s workmen using rollers and the remaining Sikkens paint that we still had in the hold. He did a beautiful job, which I unforgivably re-scraped in the next locking! C’est la vie.
After pressure washing, the underwater hull paint appeared to be still in reasonable shape and so Blanquart’s only touched it up where necessary (we don’t know what was used). The anodes were also replaced.
In the fall of 2007, Plu and I sanded down the decks, treated a few small rust spots with converter, and then re-painted them with two coats of ????
In the summer of 2009, Plu stripped and sanded the wooden doors and refinished them with multiple coats of ?????
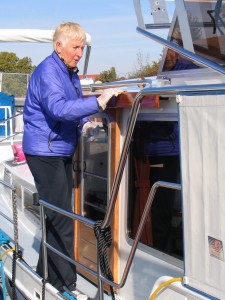
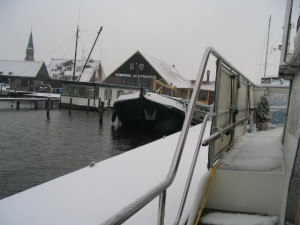
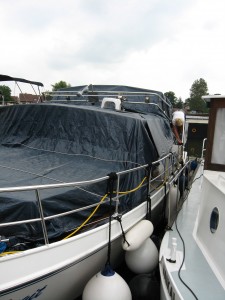
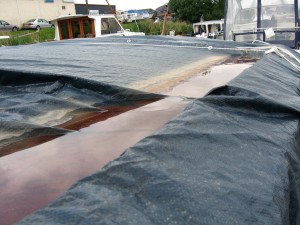
During each of the winters from 2006-’10 Tempus Fugit was kept in the water. She was uncovered in 2006-’07 in Kudelstaart and the superstructure was draped with plastic tarps in 2007-’08 and 2008-’09 in Saint Jean de Losne.
When we returned in June each year we always found Tempus Fugit dry inside (which was helped by using salt trays to control moisture levels throughout the interior spaces) but also she was usually covered in silt and water pools outside from all that had precipitated during the winter. For the most part a good wash cleaned up everything but there were some places where rusting had started.
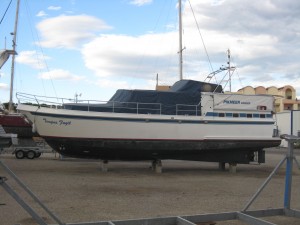
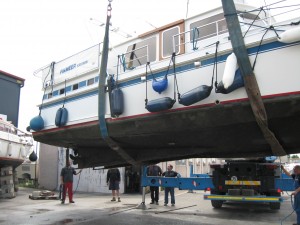
In the summer of 2010 we brought Tempus Fugit down the Rhone to the Canal du Midi and from Agde into the Med and along the coast to Gruissan. Before leaving SJDL the anodes were changed for salt water. At the end of the summer in Gruissan we took the boat out of the water to store it in Nautiland’s yard over the 2010-’11 winter. The superstructure was enclosed by a fitted cover of ???, made by Catherine Rassell??? in SJDL before we left; it closely covered everything down to the decks but they remained uncovered.
Better Maintenance Needed
When we return to Gruissan at the beginning of June 2011 we plan to begin a more substantial program of maintenance. The work that Plu and I have done so far has been enough to slow deterioration but has not always been as good as we would like in terms of endurance and finish. Our poor work derives from being uninformed and unskilled, as well as not having the right tools and facilities. Below we summarize what we believe we need to do and our emerging understanding of ways to do it.
Underwater Hull
In June 2010 we took Tempus Fugit out of the water in Saint Jean de Losne to check everything beneath the waterline before starting on the trip down the Rhone. No problems were found and it was recommended that we should postpone re-painting the underneath until we had arrived in Gruissan. While there was a reasonable growth of slime on the hull, it was suggested to us that this would be substantially washed-off as we went down the river.
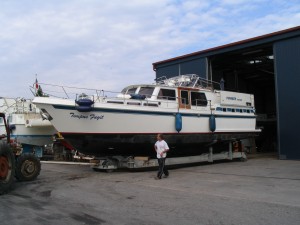
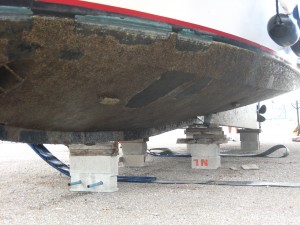
We arrived in Gruissan in the middle of May and remained in the water until early August. When we took her into the yard we were surprised to find a lot of little limpets had colonized the underwater hull. The growth ranged from very dense to non-existent with the latter seeming to coincide with places where the touch-up had been done in the fall 2007; we suspect a product was used that included antifouling chemicals that deterred colonization.
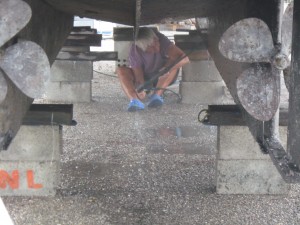
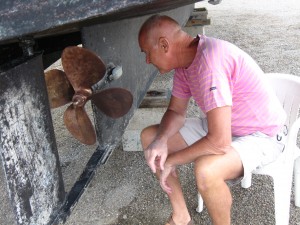
Using high pressure hoses and scrapers it took 4 days to remove the growth and still some thin laminas of shell remain from the feet of the limpets. Using acid it was possible to get the propellers comparatively bright and clean.
One question we now have is whether we need to further clean the surface of the keel and underwater hull by some form of sanding before putting on a new antifouling paint suitable to the Med waters that we will be in for the foreseeable future. Whatever we pick it will also need to be appropriate to the mix of paints presently on the keel and hull. From all that we can see the metal surface is solid and there are no signs of any existing problems like rust or pitting but should we never-the-less grind off the existing paint and get down to the steel both to re-start with a clean surface and to check its condition more carefully?
Above Water Line Hull
We realize that we can not hope to repaint the hull to the high quality that is possible in well-equipped yards and with the work being done by experienced craftsmen. At the present time our goal is to maintain the paintwork looking good and the hull in good rust-free condition. Sometime in the future we anticipate that we will the make the long trip back to Holland, where the best work is done, and have the whole boat properly sandblasted down to the metal and then completely repainted. We see this being at least several years from now. In the meantime, we will continue doing repairs and re-painting by small sections or on a spot basis as necessary.
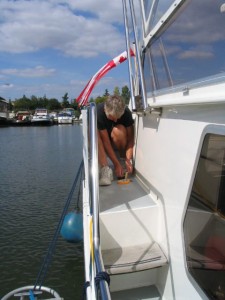
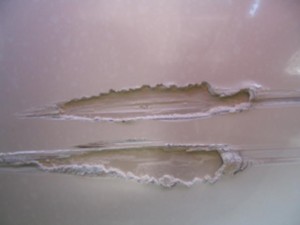
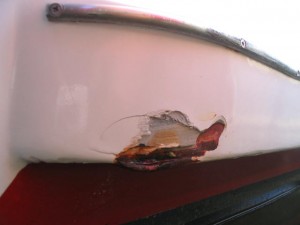
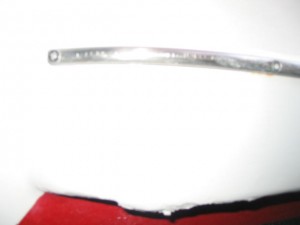
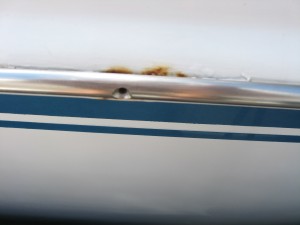
In the coming summer we would like to re-do some of the maintenance work we have done previously and address some emerging rust problems that have reached the point that they need to be addressed. Below we show the kind of situations that need to be tackled. One big advantage in working on the boat in Gruissan is that we can do it out of the water. In the case of the earlier repairs nearly all of it has been done with the boat in the water and either working from a dock or hanging down from the deck. This is not easy and is not at all conducive to getting good results.
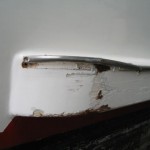
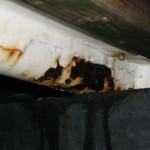
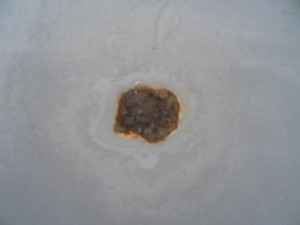
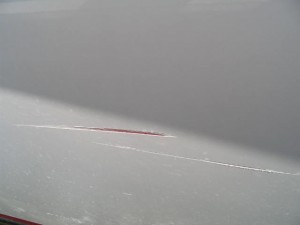
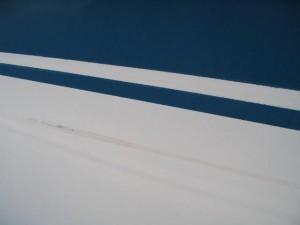
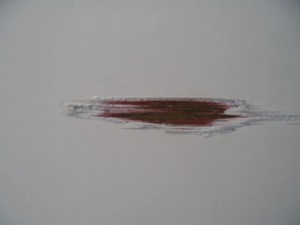
The damaged surfaces to be dealt with range from minor surface scrapes to exposed rusting over an extended area of several inches. The pictures below show this range. Each has been repaired to prevent further damage but we don’t have after-pictures for all of them.
Repair and Painting Techniques
Below I first describe how I have been doing the repairs and painting so far and then I summarize what I have begun to learn about how I need to do the work much more satisfactorily.
My Techniques So Far
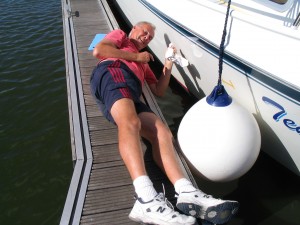
All the repairs to the above water hull that I have made through the summer of 2010 have been done while the boat is still in the water. I aimed to do the best job possible to arrest any further deterioration or rusting and to keep the paintwork looking reasonable until I could do a better job. All the sanding was done by hand rubbing and the painting with brushes.
The general approach when there was no rust consisted of hand sanding to remove any raised edges and then feathering them down to the deepest level.
When there was rust I would remove it as much as possible by scraping and wire brushing until I got down to solid metal. On a few occasions I treated the rusty surface with a converter that turned the surface black (I don’t have the name of the product here, it is on the boat).
If I got down to the metal I would put on primer (product name on boat) before I filled the depression with an epoxy filler (product name on boat). I have learned by experience that I need to build the filler up in layers with hand sanding in between and that I need to try to finish with a smoothly applied final coat that will need minimal sanding. I still don’t do the kind of job I need to on this; surfaces are not smooth enough and edges don’t feather nicely.
After preparing the surface I would use masking tape to mark off an area for painting that would be no bigger than necessary. I would first put primer on the smoothed epoxy surface, then undercoat and then a top coat. Sometimes I hand sanded in-between, particularly if my brushwork did not result in a smooth finish. Generally I worked outwards towards the masking tape waiting until the final coat to overlap it slightly and then pulled off the masking tape before it began to dry. Having seen the somewhat unsatisfactory results, I realize there must be better ways to do this work.
A special problem is the rust that has emerged behind the rub rail, particularly when one of the screws has popped out and the rail has lifted. So far I have only done minor touch up work to try to arrest the rusting here. I did not want to start taking of the rub rail to deal with this until I knew better what should be done. When I take off the stainless steel rub rail I expect to find I will need to remove rust and repair before painting in numerous places. I am sure there are some special tips on how best to do this and to do the repainting such that it blends well with the surrounding hull paint. One person mentioned to me the need to put caulking behind the strip before replacing it; I do not know whether this would be advisable and, if it is, what I should use and how to do it.
Finding Better Techniques
At this point I have more questions than answers. My plan is to build up this section with ideas and links to sites that clarify questions and suggest answers.
I already realize some of what I have been doing wrongly by talking with my good friend Jitse in Holland. He has also directed me towards the kind of tools and techniques that would be useful for removing rust, such as a Rotating Blaster mounted on top of a rotating drill manufactured by Tercoo. There is a great video demonstrating the tool and its use on their web site. Additional examples of its use are provided by the UK Distributor.
No comments yet.